Scroll down or click to view a topic up
What is a Calendar Based promotion?
Zoho Campaigns offers Calendar Based promotions - an automated email marketing plan to promote your product/services for Calendar-Based events such as Christmas, Halloween day etc.
Create Calendar Based Promotions
To create a Calendar-Based promotions Autoresponder :
- Go to Autoresponders tab --> Create Autoresponder.
- In the Create Autoresponder page, click Calendar based Autoresponder.
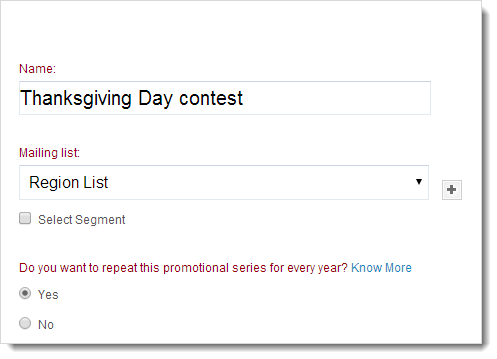
- Name your Autoresponder for future reference and select the Mailing List that you want to send calendar based mail to.
- To send the Autoresponder to a segment of the mailing list, select the check box for Select Segment and choose the segment from the drop down menu.
- Choose the Yes radio button to repeat the promotional offer for forthcoming years.
- Click the Create button to proceed. Next, you will create messages for this Autoresponder.
Create Messages for Calendar Based Promotions
To create email messages for the Autoresponder, follow the steps given below:
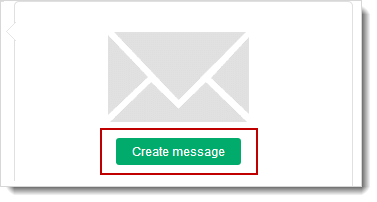
- Click the Create Message button to create your message for the Autoresponder.
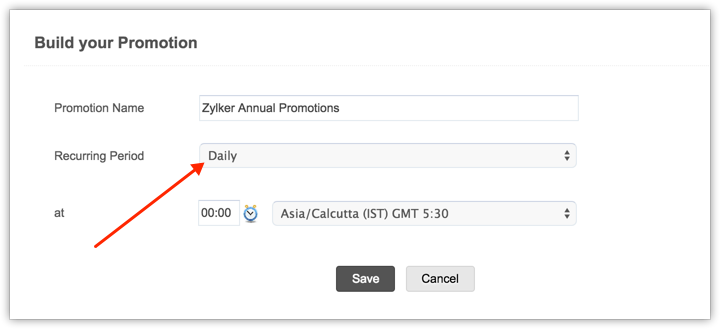
- In Build your Promotionpage, add the following information:
- Promotion Name - Give a name to your message for your reference.
- When - Select the event. This could be a festival, anniversary or a special event.
- Send on - Choose when to send the message. You can either send it earlier or schedule it on a later date.
- At - select the time and time zone for the scheduled message.
- Click the Save button to proceed.
- Now, you can create content as a regular email campaign is created such as entering basic details, adding content, and send it for review.
- Once the message content is reviewed, you can start the Autoresponder by clicking the Activate button.
Note
- You can select the recurring period as daily, weekly, monthly and yearly for calendar based promotions
Seasonal Tags
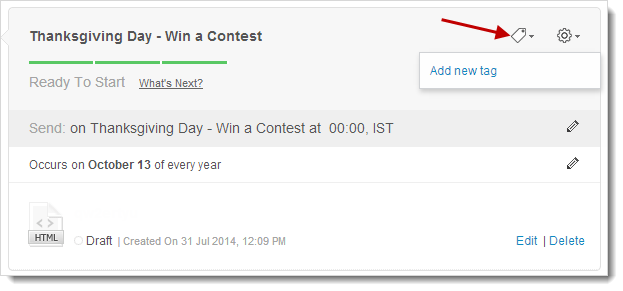
An easy way to identify messages by labeling them with tags which are relevant to promotions such as festivals, seasons, sports, and annual celebrations. Tagging the messages under a seasonal tag will help you to group them under a common banner.
Edit Autoresponder Message Name
You can edit an Autoresponder message name as follows:
- Go to Autoresponders subtab, and click the Autoresponder .
- Now, go to the relevant message and click the Settings icon.
- This will prompt you with a pop-up where you can edit the message name.
- Enter the new message name and click the Save button to confirm.

Edit Autoresponder Message Timing
You can edit the timing of an Autoresponder message as follows:
- Go to Autoresponders subtab, and click the Autoresponder .
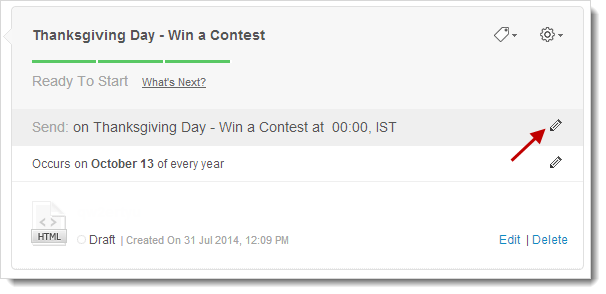
- Go to the message and click the Edit icon corresponding to Send Settings.
- You’ll get a pop-up page to schedule the timing.
- Click the Done button to confirm.
Edit Autoresponder Message Content
You can edit Autoresponder message content as follows:
- Go to Autoresponders subtab, and click the Autoresponder.
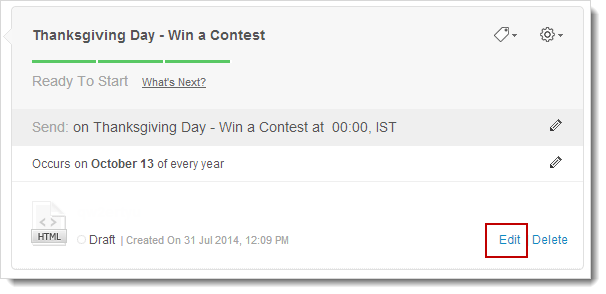
- Now, go to the relevant message and click the Edit link to make changes in the message content.
- Click the Proceed button.
Clone Autoresponder
You can clone an Autoresponder as follows:
- Go to Autoresponders subtab, and click the Autoresponder.
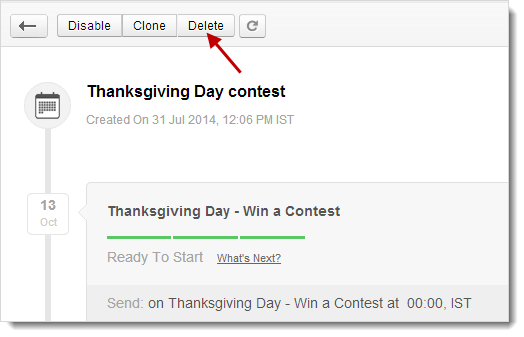
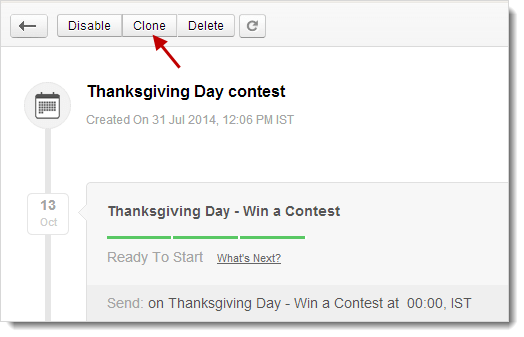
- Click the Clone button on the top Autoresponder.
- Click OK to confirm.
Disable Autoresponder
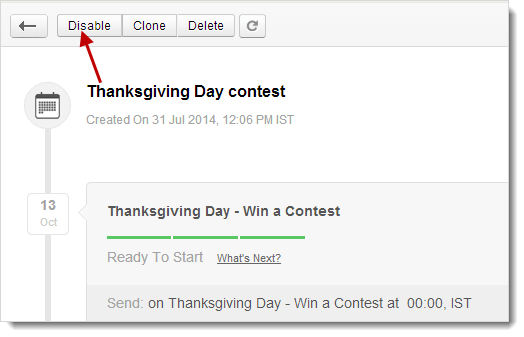
Disabling an Autoresponder will pause all messages corresponding to that particular Autoresponder.
- Go to Autoresponders subtab, and click the Autoresponder.
- Click the Disable button on the top of page.
- Click OK to confirm.
Delete Autoresponder
You can delete an Autoresponder as follows:
- Go to Autoresponders module, and click the Autoresponder.
- Click the Delete button on the top.
- Click OK to confirm.
