Scroll down or click to view a topicup
What is a Date-field based Autoresponder?
A Date-field Based Autoresponder is a series of automated messages sent to subscribers according to date specific criteria. For instance it could be a birthday, an anniversary or a deadline/ time for renewal of a subscription. We'll explain how to set up a Date-field based Autoresponder and explore the different scenarios you may encounter while trying to create one.
To create a Date-field Based Autoresponder:
- Go to the Automation tab --> Autoresponders.
- Click the Create Autoresponder button present at right hand side.
- In the Create Autoresponder page, click Date-field Based Autoresponder.
- This will take you to the create page where you need to enter/add the following information:
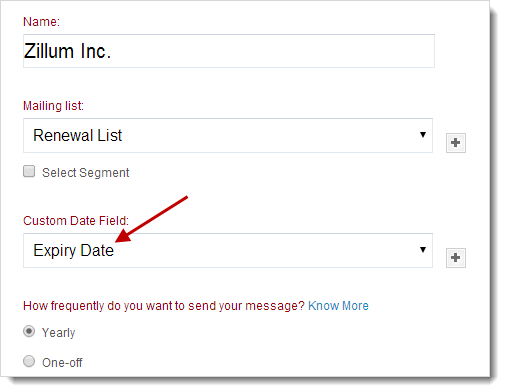
- Name - Give a name to the Autoresponder for future reference.
- Mailing List - Select the Mailing List that you want to send your Autoresponder.
- Select Segment - Choose the recipients for the Autoresponder messages from the drop-down menu.
- Custom Date-field - Select the Custom Date-field for configuring the Autoresponder. It may be a birthday or renewal of subscription. Also, set frequency for the Autoresponder:
- Yearly – Your message will be based upon an annual recurring date such as birthday or anniversary wishes.
- One Off– Your message will be generated only once and will be on the basis of an exact date value such as expiry of a contract.
- Click the Create button to proceed. This will take you to the page for creating messages for the Autoresponder.
Note
- To create a date-based custom field, go to Settings --> Custom Fields-->Add Custom Fields.
Create Messages for the Autoresponder
In an Autoresponder, you can add a maximum of 50 different automated messages to be sent to subscribers meeting the specified criteria. You can start by creating the first message and then proceed to follow-up messages.
To create a message for the Autoresponder,
- Click the Create Message button.
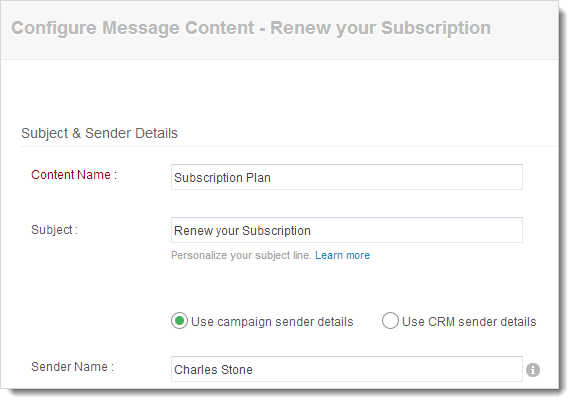
- Now, add message content such as basic details, configuring content, and submit the message for review.
- Once the message is reviewed, click the Send Settings button. You may choose to send immediately or schedule for later.
- Click the Start Now button.
Edit Autoresponder Message Timing
You can edit the scheduling of an Autoresponder message by following the steps given below:
- Go to Autoresponders subtab, and click the Autoresponder you wish to edit.
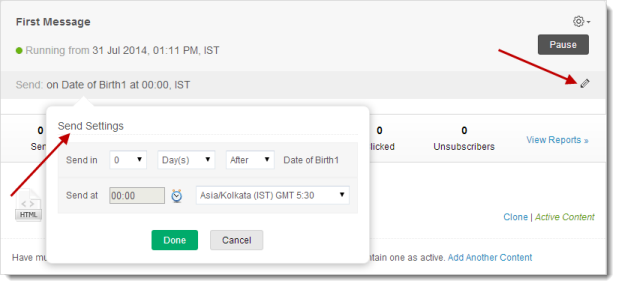
- Now, go to the relevant message and click the Edit icon related to Send Settings.
- You’ll get a pop-up page to schedule the timings.
- Click the Done button to confirm.
Note
- Any change in timing may take upto 24 hours to be updated.
- An Autoresponder message may take upto 30 minutes to be delivered to the recipient.
Edit Autoresponder Message Content
You can edit Autoresponder message content by following the steps given below:
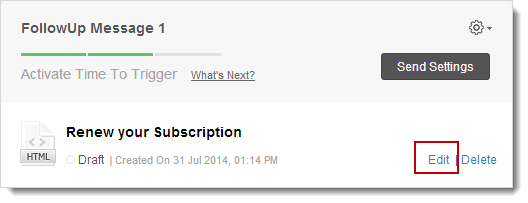
- Go to Autoresponders subtab, and click the Autoresponder you wish to edit.
- Go to the message and click the Edit link to make changes in the content.
- Click the Proceed button.
Note
- You cannot edit content for an active Autoresponder. However, you can clone the Autoresponder content and edit it.
Clone Autoresponder Message
You can clone an Autoresponder message by following the steps given below:
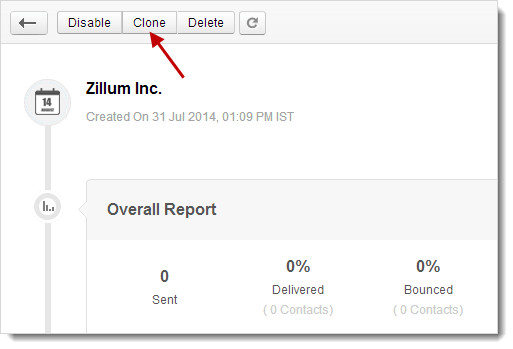
- Go to Autoresponders subtab, and click the Autoresponder.
- Now, go to the relevant content and click the Clone link.
- You’ll get a pop-up page to enter basic details.
- Click the Save button to confirm.
Pause Autoresponder Message
You can pause a specific message within the Autoresponder as follows:
- Go to Autoresponders subtab, and click the Autoresponder.
- Click the Pause button present in the message content.
- Click OK to confirm.

Disable Autoresponder
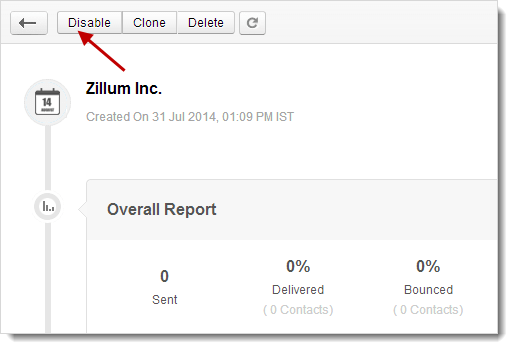
Disabling an Autoresponder will disable all Autoresponder messages i.e. no emails will be triggered for this Autoresponder
- Go to Autoresponders subtab, and click the Autoresponder.
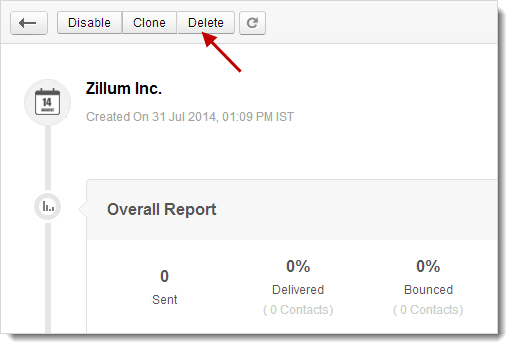
- Click the Disable button on the top of page.
- Click OK to confirm.
Delete Autoresponder
You can delete an Autoresponder as follows:
- Go to Autoresponders subtab, and click the appropriate Autoresponder.
- Click the Delete button on the top of page.
- Click OK to confirm.
